If you drive often after dark, you already know how quickly visibility can turn into a problem. Rural roads with no streetlights, sudden fog, heavy rain, and wildlife near the shoulder can make even strong factory headlights feel limited. That is why many drivers add auxiliary lighting for extra reach and a wider view of what is ahead.
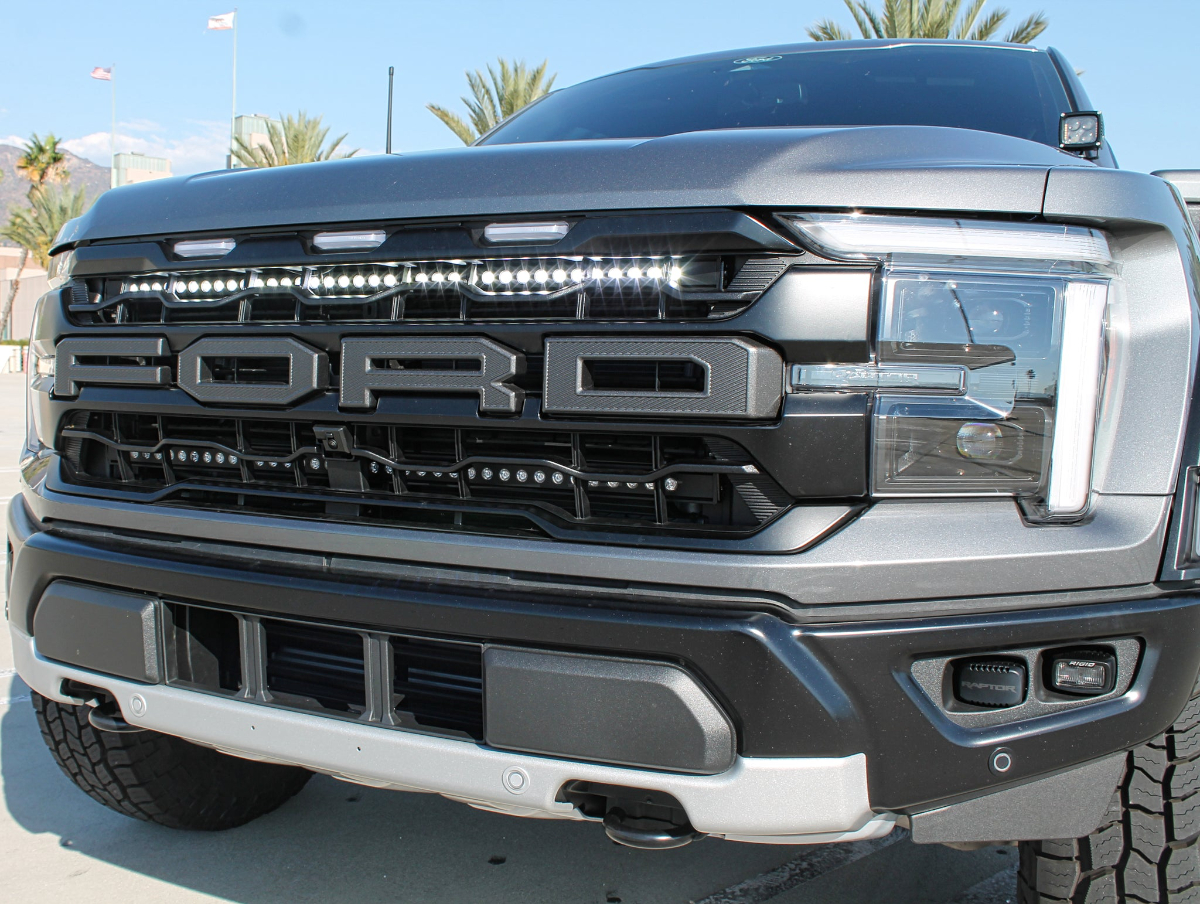
A raptor light bar is one of the most popular lighting upgrades for drivers who want a serious improvement in night visibility. Whether you use your vehicle for weekend adventures, work sites, or long highway drives through poorly lit areas, a properly chosen and installed light bar can make driving feel more comfortable and controlled.
Why Add a Light Bar in the First Place?
A light bar is not just an off-road accessory. For many drivers, it is a practical tool.
Better visibility on dark roads
Headlights are designed to meet road requirements and balance brightness with glare control. A light bar can supplement that output when you need more distance and more coverage on unlit routes.
Wider lighting for the shoulders
Many hazards appear near the edges of the road first. A broader beam can help you spot animals, pedestrians, and debris before they move into your lane.
Helpful illumination for outdoor use
If you camp, tow, or work in low-light environments, auxiliary lighting can make setup and navigation much easier.
Understanding Beam Patterns: Spot, Flood, and Combo
Before you buy, it helps to understand beam patterns. This decision affects performance more than many people expect.
Spot beam for long-distance reach
Spot beams focus light forward in a tighter pattern. They are useful when you want to see farther down the road, especially at higher speeds. The tradeoff is less width.
Flood beam for wide coverage
Flood beams spread light outward to illuminate a broader area close to the vehicle. They work well for trails, slow-speed driving, and situations where side visibility matters most.
Combo beam for balanced use
Combo beams blend spot and flood optics. For many drivers, this is the best all-around option because it provides distance and side lighting in one unit.
Choosing the Right Raptor Light Bar Size
The “best” size is the one that fits your vehicle cleanly and matches how you drive. Bigger bars can produce more light, but they can also bring extra wind noise, more noticeable appearance changes, and more potential for glare if aimed poorly.
Compact bars for a subtle upgrade
Smaller bars are easier to tuck into a grille or bumper area. They are a great choice if you want extra lighting without an aggressive look.
Mid-size bars for everyday performance
A mid-size bar often provides a big visibility boost while staying manageable for mounting and wiring. This is a common sweet spot for daily drivers who also venture out of town.
Larger bars for maximum output
Large bars can be extremely bright and wide. If you choose one, you will want solid brackets, a proper wiring harness, and careful aiming. High output only helps when it is controlled.
Mounting Locations and What They Change
Where you mount your light bar affects real-world performance. Think about beam height, glare, airflow, and how protected the bar will be from weather and debris.
Grille or bumper mounting
This is one of the most common placements. It can look clean, reduce hood glare compared to high mounting, and keep the bar protected. It also tends to reduce wind noise.
Roof mounting
Roof mounts can provide a broad view for trail use, especially when terrain dips and rises. They can also create more wind noise and may reflect light off the hood in rain, fog, or dusty conditions.
Hidden or low-profile mounting
Some drivers prefer a more factory-style appearance. Low-profile mounting can work well with a compact bar and careful aiming.
In the middle of your planning, you may see examples of setups and bracket styles for other vehicles, such as a toyota light bar configuration. Even if you drive something different, looking at those installs can help you understand what good bracket geometry looks like, how clean wiring is routed, and how people avoid glare.
Wiring Basics: Keep It Safe and Reliable
A light bar is only as good as its wiring. Poor wiring can lead to flicker, premature failure, or electrical issues you do not want.
Use a relay and fuse
A proper harness includes a relay and an inline fuse. This helps deliver steady power and adds protection if something shorts or draws too much current.
Choose a quality switch
Pick a switch you can reach easily without distraction. Make sure it is rated for automotive use. Many drivers prefer a switch that feels integrated and does not look out of place on the dash.
Aiming and Glare Control
Brightness should improve your visibility, not make things worse. Poor aiming can cause glare for other drivers and can also bounce back at you in fog and rain.
Simple aiming tips
- Park on level ground and test at night
- Angle the beam slightly downward
- Tighten mounts fully before final adjustment
Final Thoughts
A raptor light bar can be a strong upgrade for drivers who want better visibility after dark, whether you are traveling through rural areas, driving to remote campsites, or working in low-light conditions. Focus on beam pattern, size, mounting position, and safe wiring, and you will end up with lighting that is genuinely useful and not just bright.
If you want help choosing the right parts or getting a clean, professional installation,
and connect with M&R Automotive.